Overhead Storage
How to Install SafeRacks Overhead Garage Storage the Right Way
By Iron Pecan Team · Published November 21, 2026 · Updated November 21, 2026 · 4 min read
On this page
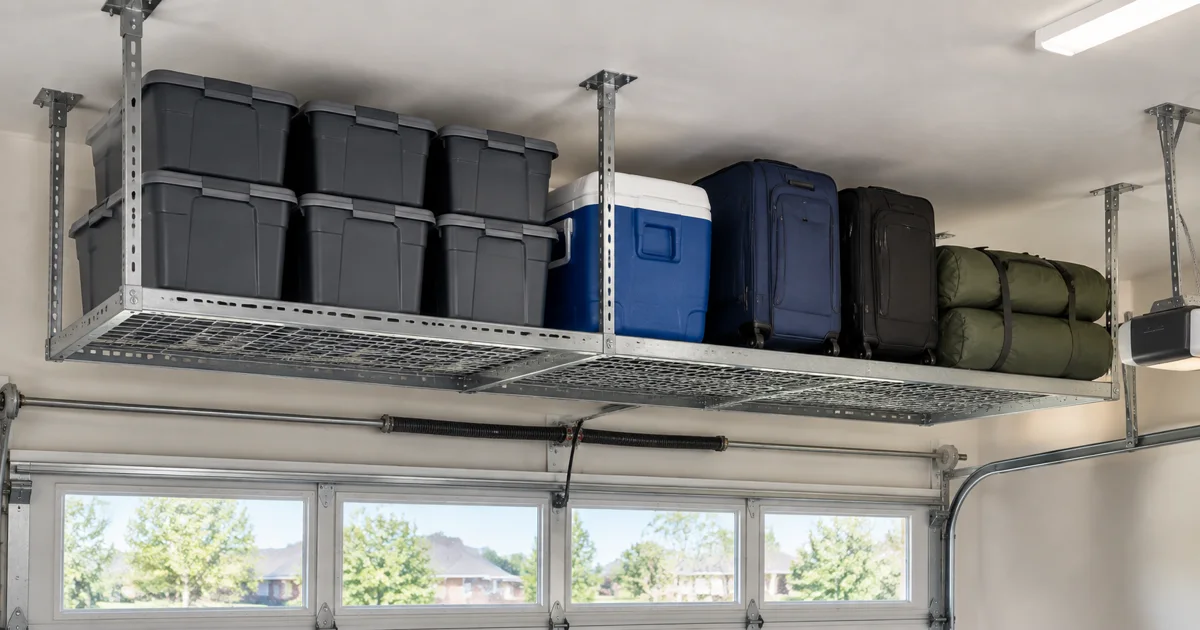
SafeRacks are among the most popular overhead storage racks in DFW. Many Frisco homeowners pick up a 4x8 kit at Costco and want to turn unused ceiling space into practical storage. SafeRacks installation begins with the ceiling structure, not the deck: a stated load rating only means something when the correct model is assembled and anchored according to its manual.
Some SafeRacks 4x8 models are rated up to 600 pounds, evenly distributed. Check the label and manual for your exact rack. Models differ, and a rack rating does not establish how much your ceiling structure can safely support. SafeRacks and Costco are examples of customer-owned products, not Iron Pecan partnerships.
Before you start: what to measure
Measure ceiling height, the garage door track and the opener rail. Check the door in its fully open position, not only while closed. The rack must clear the moving door, opener motor and connecting hardware throughout their travel.
Also consider your tallest vehicle with its hatch or tailgate open, nearby lights and the space needed to lift bins onto the deck. A rack that fits on paper can still block access to lighting or make large storage bins difficult to remove.
Find the joists — never drywall only
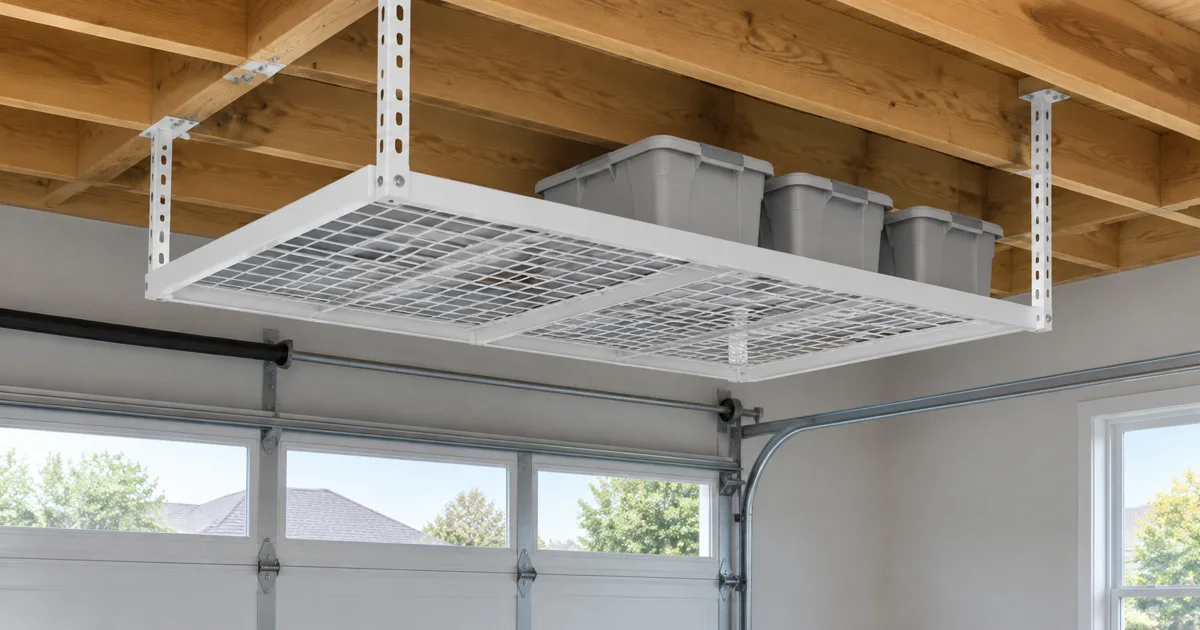
Every mounting bracket must be fastened into suitable wood joists or trusses as specified by the manufacturer. Never rely on drywall, hollow-wall anchors or a bracket that only appears aligned with the framing. Many North Texas garages have framing spaced 16 or 24 inches on center, but verify yours.
Use a stud finder, confirm the framing location carefully and mark each joist center. Follow the SafeRacks manual for bracket orientation, required mounting points, pilot-hole size and hardware. The bracket must span and fasten to the framing exactly as the model requires.
If the framing, wiring or structural suitability is unclear, stop and have it checked. SafeRacks installation should never involve guessing what is behind the ceiling or altering a truss without appropriate structural guidance.
Choosing the right drop height
SafeRacks kits may offer adjustable drops of approximately 12 to 45 inches, depending on the model. Verify the adjustment range in your manual. Short drops may suit an area above the hood of a vehicle; longer drops can work along side walls when clearances allow.
Leave enough room above each bin to lift it up and away from the rack. Consider a loaded bin's weight and how you will reach it. A good layout leaves the garage usable and does not turn routine storage into an awkward lift above a vehicle.
Tools you will need
- A drill or impact driver and the specified sockets or nut drivers.
- A stud finder, level and tape measure.
- A rubber mallet where the assembly instructions allow it.
- A stable ladder appropriate for the ceiling height.
- A second person to help with safe assembly and positioning.
Pre-drill pilot holes to the manufacturer's dimensions so lag bolts do not split the wood. Use the supplied or specified hardware. Tighten according to the manual rather than overtightening until the wood or bracket is damaged.
Common mistakes we fix
Common problems include a bracket attached to too few joists, lag bolts missing the center of the wood, a rack blocking the door or opener and a deck that is out of level. Heavy items concentrated at the middle can also create an uneven load.
Before loading, check every connection, verify clearances again and confirm the rack is level. Spread weight according to the manufacturer's instructions and keep the total below the lower of the rack rating and the verified structural capacity.
DIY or professional?
A DIY SafeRacks installation requires careful measuring, suitable tools and help with lifting. Do not rush the anchoring step. If you would rather have your customer-owned racks professionally installed, Iron Pecan charges $150 for the first rack and $75 for each additional rack.
Those prices assume 4x8 racks, wood joists and ceilings up to 10 feet. Other sizes, structures or heights are confirmed before installation. You supply the racks and pay after installation. Your product warranty stays with the rack manufacturer.
See our rack installation service, book your installation, and read what not to store overhead in Texas heat before loading your new storage space.